


Learn, Implement and Share about Argo CD after this article read. 💭
Before we get started with Argo CD, we’ll go through what it is, how it works, and what qualifications you’ll need.
What exactly is Argo CD? 🤔
Argo CD is a continuous deployment (CD) solution for Kubernetes. Unlike external CD solutions, which only support push-based deployments, Argo CD can extract updated code from Git repositories and publish it to Kubernetes resources directly. It allows developers to handle infrastructure settings as well as application upgrades in a single system.
In a nutshell, Argo CD is a GitOps agent that keeps a cluster in the appropriate condition.

Let me clarify 🤔. Assume you created an application and want it to run on a cluster with three Pods and two Services for external IPs. This is the intended state, and whenever changes occur in your application’s repository, or if your desired state is not available in that cluster at any time, you must manually check and make changes to the cluster to have your desired state operating. And here comes Argo CD to automate the entire process using GitOps concepts, with Git serving as the application and cluster’s state.
How does Argo CD work? 💪🏻
It’s simple: there will be two repositories, one containing the application you create and the other containing the cluster’s declaratively expressed desired state. Argo CD, as a Kubernetes controller, can be installed in the same cluster as our application, or it can perform its functions from a different cluster. If the present state of the running cluster does not match the written desired state, Argo CD will attempt to create the required state and synchronise everything.

For a better understanding of its architecture, visit Argo CD Documentation.
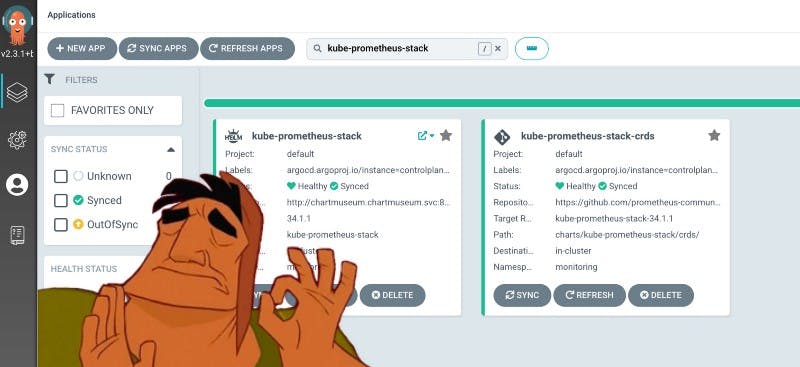
When Argo CD determines that the live and desired states are not in sync, it displays OutOfSync in its UI (yes, it has a UI as well as a CLI, whichever you like). If it matches, all is fine, and the status returns Synced.
It is compatible with simple Kubernetes manifests, Helm charts, Kustomize definitions, and other templating mechanisms.

Argo CD checks our repository for changes every 3 minutes by default. If anything changes in our repository, Argo CD will update our cluster with the new modifications. But if we want Argo CD to look for changes every second, we can do that as well. If you don’t like this mechanism of checking for changes, you can use webhooks, in which Argo CD receives notifications from your git provider and looks for changes when it receives a notification from your application’s repo.
Prerequisites 🐣
Basic knowledge of Git, K8s, and Networking.
Here are some resources to help you with the above :
Implementation of Argo CD 🚧
Deploy a Docker application in a Kubernetes cluster that is stated declaratively in plain Kubernetes manifest files in a GitHub repo.
Installation of Argo CD ⚙️
Argo CD can be used to deploy and administer other apps, but it is also an application in its own right. There are numerous methods for installing it on a Kubernetes cluster.
You can deploy Argo CD directly using the manifest for the experiment.
# for creating the namespace
kubectl create namespace argocd

# for deploying argocd on above namespace
kubectl apply -n argocd -f https://raw.githubusercontent.com/argoproj/argo-cd/stable/manifests/install.yaml
I recommend utilising Autopilot a companion project that not only installs Argo CD but also commits all configurations to git so Argo CD can maintain itself using GitOps.
The manifests directory provides several modes of installation with or without High Availability for more traditional installation options. The “namespace” installs allow you to install Argo CD on a specific namespace without requiring cluster-wide rights. This is useful when you want Argo CD to be installed on one cluster but manage other external clusters.
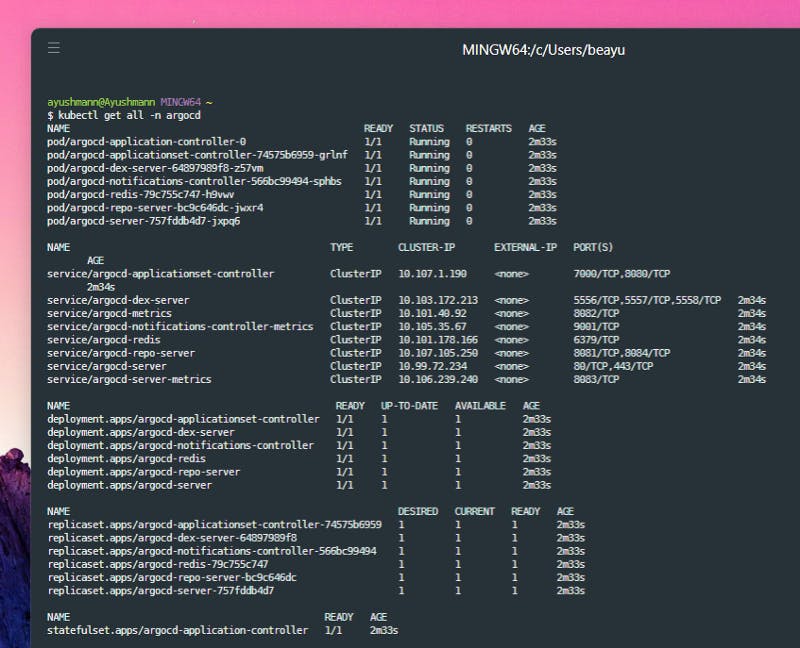
To see all resources created by Argo CD :
# for fetching all pods, services, replicaset, deployments etc.
kubectl get all -n argocd
Expose Argo CD UI 🌍🌐
Argo CD is only accessible from within the cluster by default. You can expose the UI using any of the standard Kubernetes networking techniques, such as -
Ingress (recommended for production) (recommended for production)
Load balancing device (affects cloud cost)
NodePort (basic but not very flexible) (simple but not very flexible)
When the external URL is complete, you must decide how users will access the Argo CD UI. There are two main approaches:
Make use of a limited number of local users. Argo CD is in charge of authentication. Ideal for very small businesses (e.g. 2–5 people).
Make use of an SSO provider. The supplier handles authentication. Perfect for businesses and large groups.
To expose using Ingress,
# for port forwarding
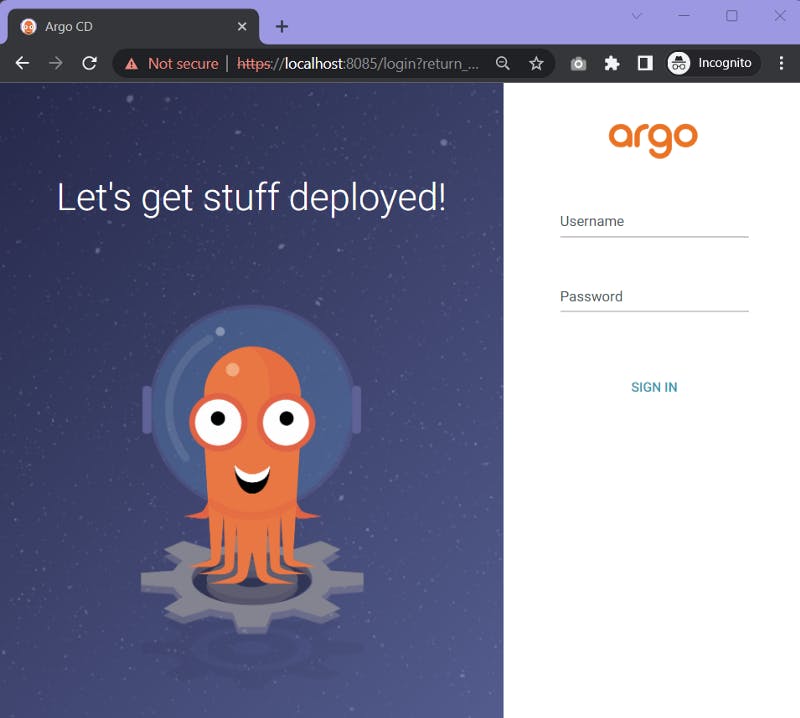
kubectl port-forward svc/argocd-server -n argocd 8085:443
Now, go to localhost:8085 to access the Argo CD UI.
For the administrator’s username and password, Open a new terminal window and type :
# for configuring k8s secrets in a file.
kubectl -n argocd get secret argocd-initial-admin-secret -o jsonpath=”{.data.password}” | base64 -d > admin-pass.txt
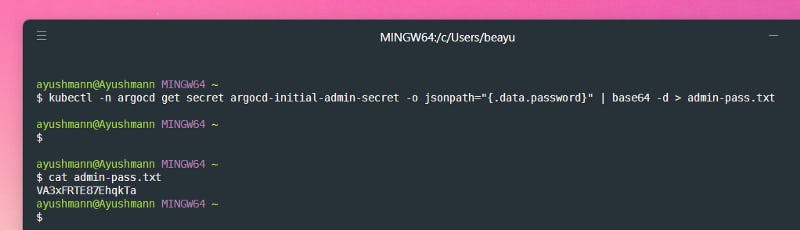
Log in to the “admin” account now :
Note: Password inside the file admin-pass.txt
Creating and Syncing Application in Argo CD 🗣️🦜
In Argo CD, an application can be created via the UI, CLI, or by generating a Kubernetes manifest, which can then be passed to kubectl to create resources.
Using UI
- Click on “NEW APP”
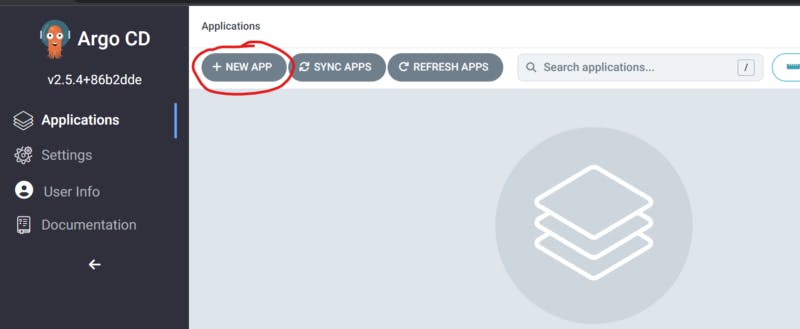
Put only necessaries as mentioned below :
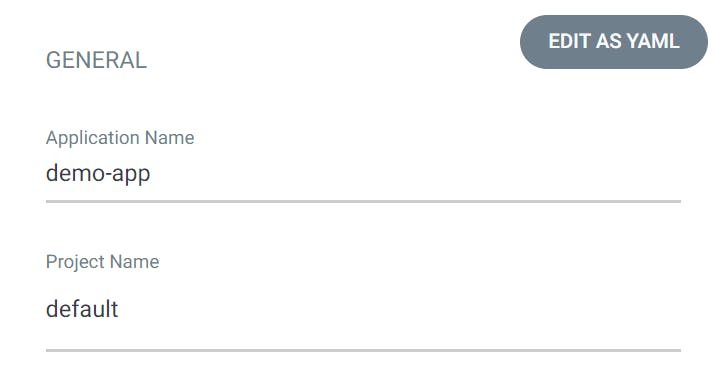
General :
Application Name:
demo-appProject Name:
default
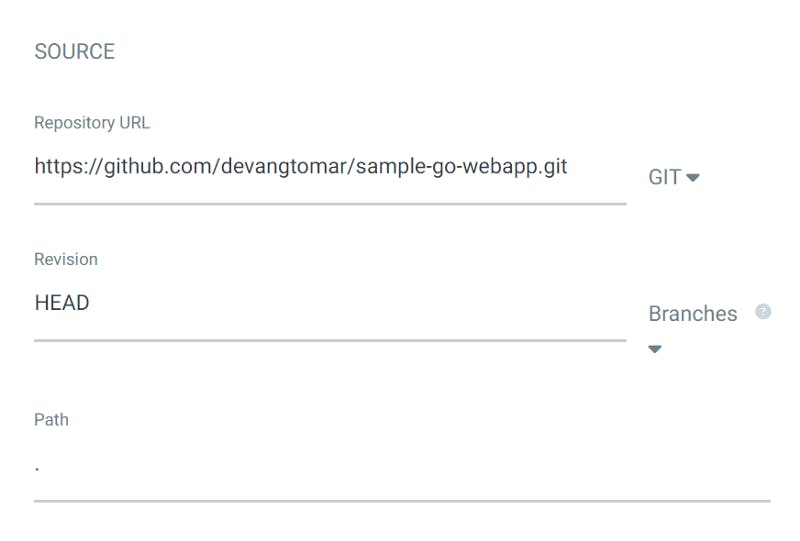
- Source :
Repository URL: [https://github.com/devangtomar/Sample-GO-WebApp](https://github.com/sarkartanmay393/Sample-GO-WebApp) Revision: HEAD PATH: .
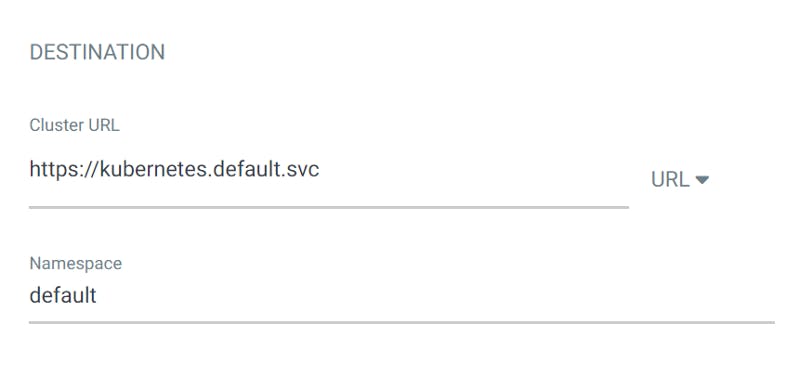
- Destination :
Cluster URL: [https://kubernetes.default.svc](https://kubernetes.default.svc) namespace: default
YAML file
apiVersion: argoproj.io/v1alpha1
kind: Application
metadata:
  name: demo-app
spec:
  destination:
    name: ''
    namespace: default
    server: 'https://kubernetes.default.svc'
  source:
    path: .
    repoURL: 'https://github.com/devangtomar/sample-go-webapp.git'
    targetRevision: HEAD
  project: default
Check your YAML by hitting EDIT AS YAML and try to understand.
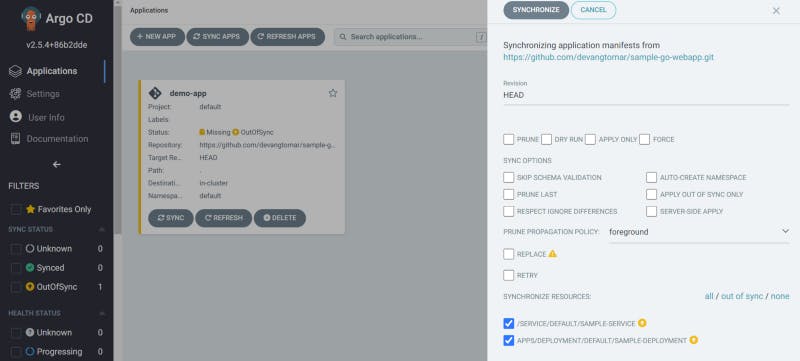
Now, Press on Create and You will see this on the screen.
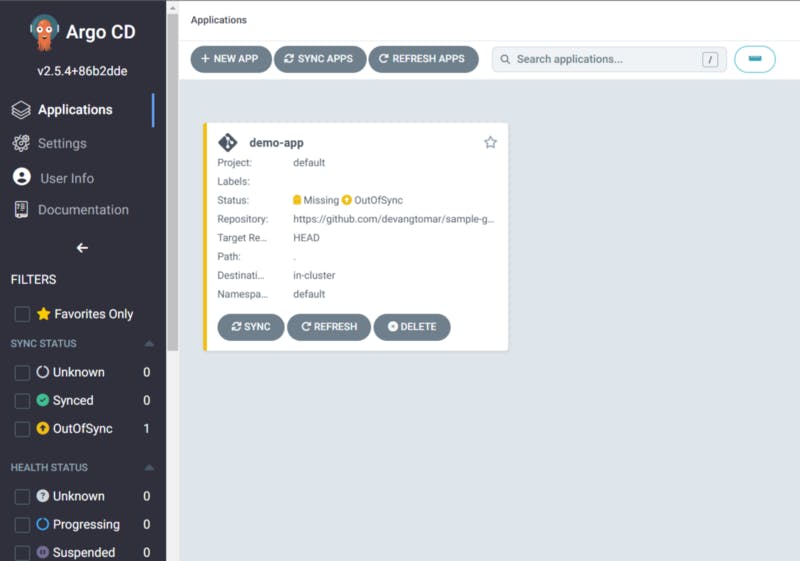
Now, click on SYNC and Proceed without any change.
Using CLI 🎹

- Install Argo CD CLI ⚙️
Run the following command -
For Linux :
curl -sSL -o /usr/local/bin/argocd https://github.com/argoproj/argo-cd/releases/latest/download/argocd-linux-amd64
chmod +x /usr/local/bin/argocd
For Windows :
Replace $version in the command below with the version of Argo CD you would like to download :
$url = "https://github.com/argoproj/argo-cd/releases/download/" + $version + "/argocd-windows-amd64.exe"
$output = "argocd.exe"
Invoke-WebRequest -Uri $url -OutFile $output
For Mac :
brew install argocd
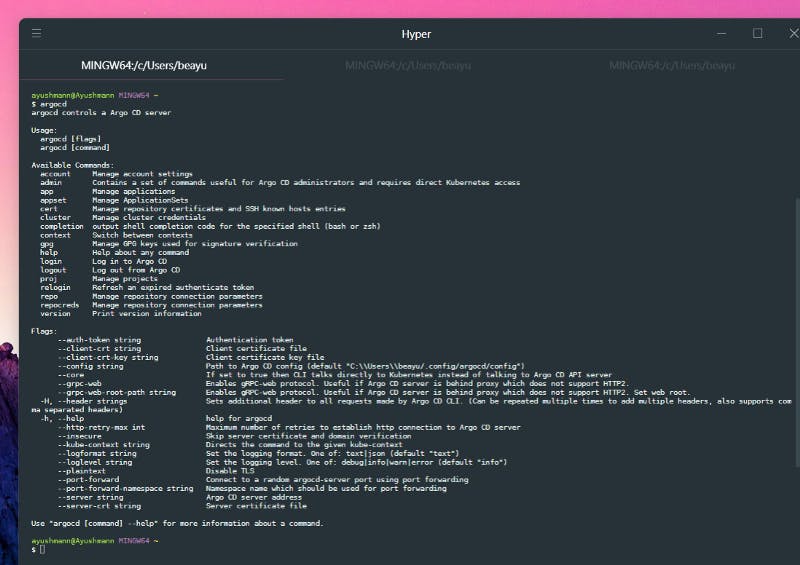
Argo CD CLI help screen :
- Login Argo CD CLI 🧑🏻💻
Run the command :
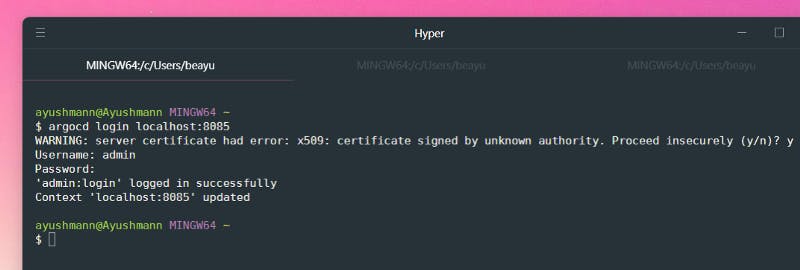
argocd login localhost:8085
Then continue with y and, Username: admin Password: check your admin-pass.txt
- Create an app in CLI 🤳🏻
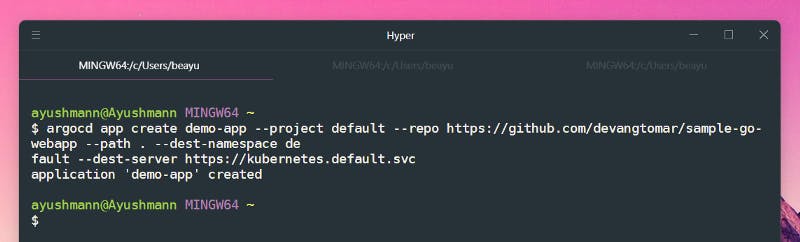
Run the following command :
argocd app create demo-app --project default --repo https://github.com/devangtomar/sample-go-webapp --path . --dest-namespace default --dest-server https://kubernetes.default.svc
- Sync app in CLI 🌐
Because this app is new, the default sync state will be OutOfSync. Run the command — to perform synchronization.
argocd app sync demo-app
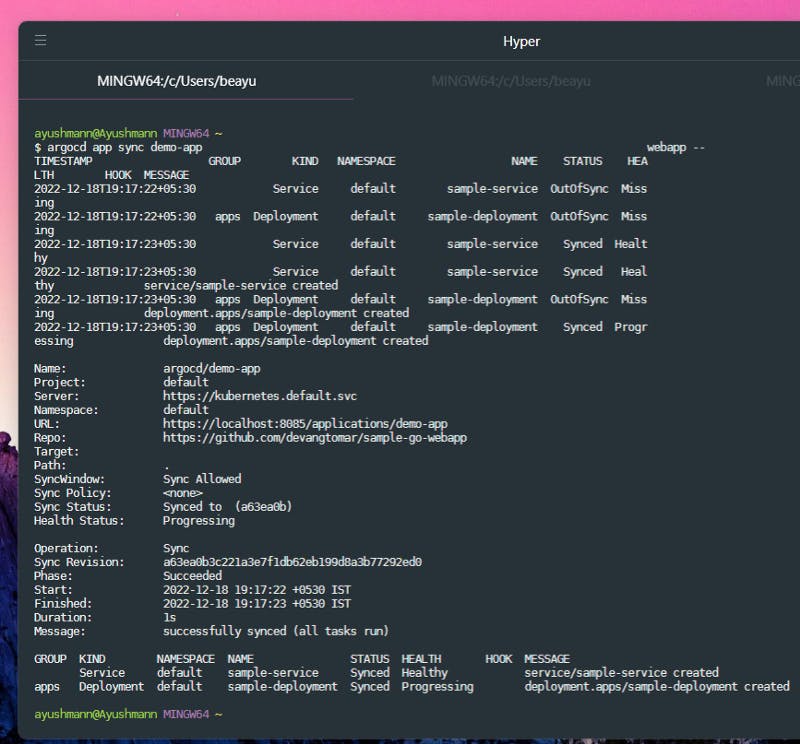
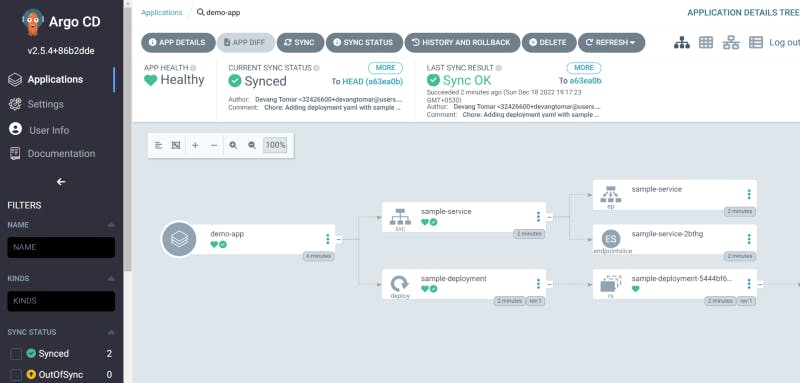
The deployed application has now been synchronized.
In the Argo CD User Interface, this will be the final display of our deployed application.
- Access the Deployed App 🏗️
Now look for services that are operating under the default namespace in k8s. Execute the command :
kubectl get services
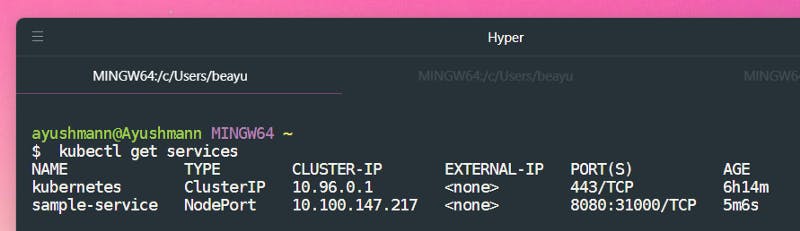
You need to port forward the sample-service to access the app. Run the command :
kubectl port-forward svc/sample-service 8086:8080
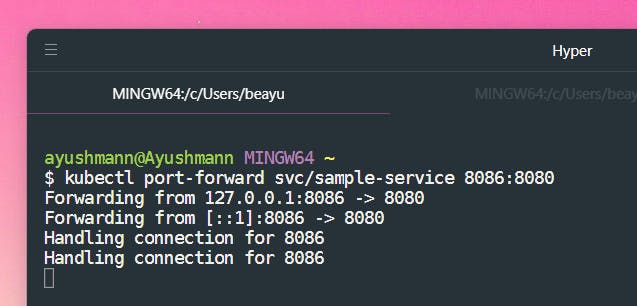
Now, visit localhost:8086 to see.

This is the Argo CD For Dummies article. I hope you learned something new. See you in my next post.
GitHub repo for the sample GO webapp💻
Connect with Me on Social Media
🐦 Follow me on Twitter: devangtomar7
🔗 Connect with me on LinkedIn: devangtomar
📷 Check out my Instagram: be_ayushmann
Ⓜ️ Checkout my blogs on Medium: Devang Tomar
#️⃣ Checkout my blogs on Hashnode: devangtomar
🧑💻 Checkout my blogs on Dev.to: devangtomar